- संपादित
The Dangers of Working in Both Stepped and Interpolated

Can someone please explain to me in better detail how this works?
I was attempting to refine my animation by editing the key poses, in stepped mode.
I then noticed that when i uncheck stepped, and/or click interpolated, the frames change position and appearance. (on the key poses) Even the color changes (perhaps because the color is animated, and the differnce in color comes after that frame...)
This seems to have something to do with what bones are keyed, and which are not. It would seem that it ignores certain keyed frames when there is interpolation going on? or tries to accomodate for it? I'm so lost it would seem I'm better off starting the animation from scratch. I'm not even sure now how my key poses effect the animation anymore; and i would have to look at previous versions of the animation to begin comparing. I have many extra keys now; i think because of editing keys while interpolated, then editing them more while stepped.
Though I can still just barely grasp what is going on, it still is mind boggling ; and should have documentation to avoid this confusion, and better understand how the animation works based on its keys. I know I could go in and look at every which key has interpolation going on, but at this point it is too confusing. Some explanation as to whats going on and/or how to avoid this in the future would be greatly appreciated.
Also if it helps, I didn't modify any curves for this animation.
This issue started off even earlier, when I had to place extra keyframes for scale. This explains the name of the file. I ended up deleting the scale keyframes and starting them over, for it to work. (this was for flipping around the thumb, palm, and index finger)
These examples work horribly as screenshots, but trust me, there is a differnce for every frame, and it makes a big difference for the overall animation, especially for trying to animate it.
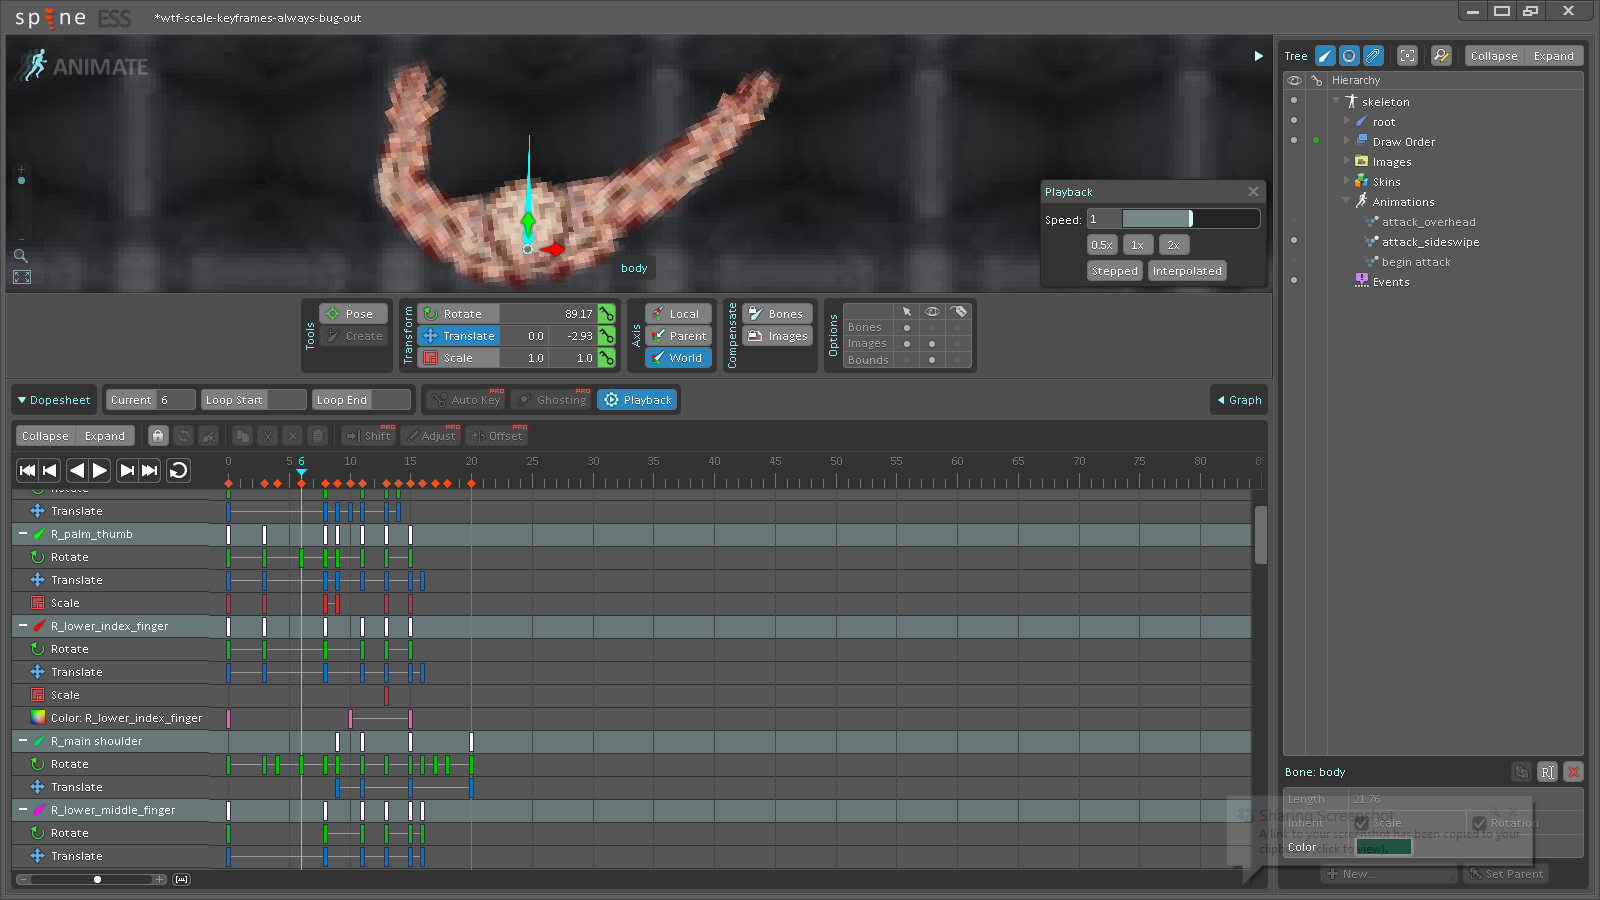
Key Frame 6:
Interpolated:
Stepped:
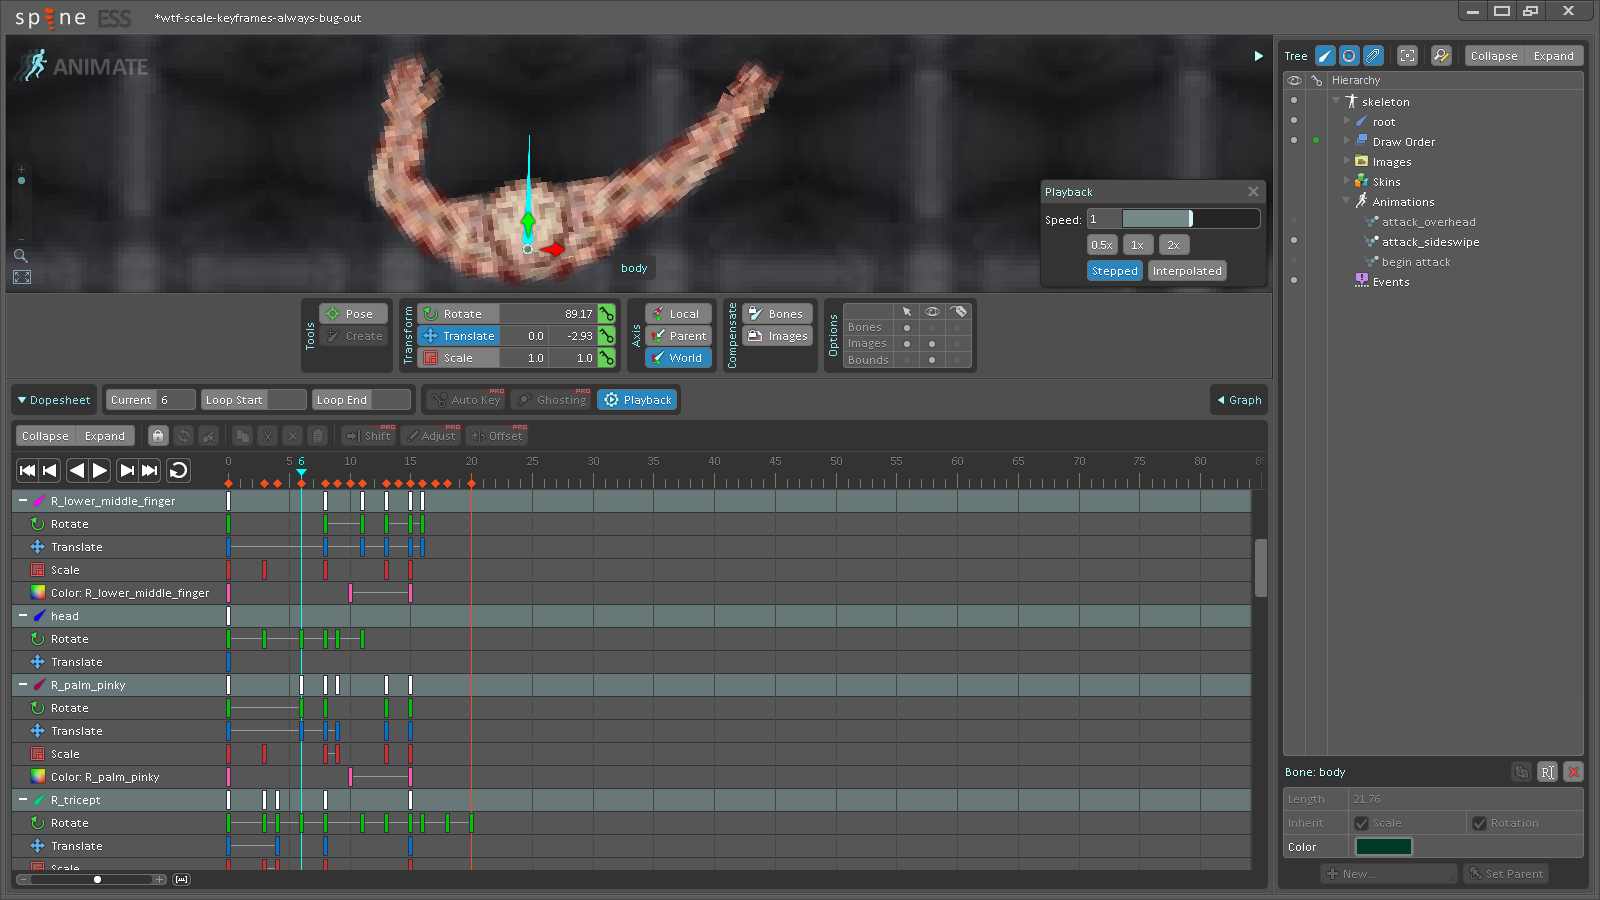
/\ The differnce is the placement of the right hand fingers in stepped is rotated more to the point where you get blank pixels, the lower back components are shifted in interpolated(most notably on the right side), and the position of the left hand/arm in general is a certain amount of pixels off in stepped.
Key Frame 3:
Interpolated:

Stepped:

/\ The differnce is the right bicept is lower in stepped, and the right hand is rotated more to the left in stepped. Theres some other hard to notice differnces as a screenshot.
Key Frame 13:
Interpolated:

Stepped:

/\ Note the left side is not yet animated for that one.(probably part of what cursed me) The differnce is the color of the upper hand's palm is more red in stepped, and the piece of back sticking out on the bottom left side in stepped, which is actually a part of the back from the right side.
I already fixed and saved the best example of this problem, when i first noticed it, where there was a hand pose that was COMPLETLY skipped over in interpolate. I had to highlight the whole hand and create keys for it by pressing ctrl+L. Adding to the whole confusion of this animation.

I'll explain the "Stepped" button: it means that stepped interpolation is used for all keys. Ie, instead of interpolating or "tweening" between the values of adjacent keys, nothing is changed until the next key is reached. Stepped is typically used when starting a new animation to rough out the major poses. You then turn stepped off, play the animation, and then add keys between the major poses to refine the movement. Turning stepped on for an animation that has many keys may not be as useful, especially when looking at bones that are not keyed on the same frame.
Note the "Interpolated" button when unchecked (it will be gray) makes it so when you play the animation the poses are only applied on integer frames. Tweening (aka interpolation) is still done between keyframes, but now tweening is done between integer frames. This is the same thing that happens when you scrub the timeline. It may make it easier to see the movement, or you may prefer that style of playback. If "Interpolated" is checked (it will be blue) then tweening is done between integer frames and the animation. This is the same thing that happens when you scrub the timeline while holding shift. Playback is perfectly smooth.
Does that help?
yes the inconsistent keying probably caused this. But I'm unsure as to the rules this follows. What keyframes does stepped decided to show? And is it essentially useless if you have bones keyed on differnt frames?
Also is this in-between integer mode a setting for rendering the skeleton in game aswell?

If you have bones keyed on different frames it can indeed be confusing. Mostly stepped keys are used for creating your extreme poses.
My workflow for a walk cycle for a character shown from the side is as follows.
- Set stepped mode.
- Create frame 0 pose which has either right or left foot at it's furthest ahead point, and the opposite foot at furthest behind the character
- Duplicate this frame to frame 24 (which is usually the length I use for walk cycles)
- Create the mid pose frame (frame 12) where the feet are inverse from frame 0.
- Create the pose where the character is at it's highest point vertically (frame 6).
- Create the inverse of frame 6, this time at frame 18.
I scrub the animation quite a lot at this point, to see how the character "behaves", and then I do my second pass where I place in keys between the currently existing ones. Those keys would be at frames 3, 9, 15, 21.
Once this is done I turn off stepped mode and start adding the needed life to the animation.
With stepped mode on you don't see the errors that will be there when things are interpolating and you focus on the extreme poses which are the most important. This is very similar to how traditional animation is done as well. Get your extremes sorted before you go crazy with the detailing or you will end up spending way to much time on your animations.
Another way of doing it while not using stepped mode at all is to not put the extreme poses at their correct frames, but rather just use frames 0,1, 2, 3, 4, 5, 6 etc. then scrub the timeline and once you are happy, place at the correct frames.